Thursday, May 24, 2012

Ewww...

Well, once again I am posting with a confession. I had no idea just how gross my kitchen sink had become.

Here's the back story: My very gracious mother-in-law had my boys the other morning so that I could run errands. I didn't intend to stop at Lowe's, but it's a lovely store, AND it opens before 9:00. I had 15 minutes to kill, and I saw they had hanging baskets. I needed grandmother gifts for Mother's Day.

Can I just say that it's amazing what I can accomplish when I don't have to get little people in and out of the car all the time? Especially at stores without carts where I shop for a maximum of 5-10 minutes. On the other hand, it's also amazing how much money I can spend so quickly, even when I have a list that I'm supposed to stick to? (Honey, if you're reading this, it really wasn't THAT much...)

Anyhow, back to my story. I still had some time after looking through the flower display, so I went to the cleaning aisle. I have been struggling for months to find a solution for my poor stainless steel tea kettle. You see, a certain woman in my house boiled water and forgot about it right up until the water was evaporated and the house began to acquire an odd smell. The kettle survived, but it acquired a yellowy hue and the previously-not-that-noticeable grease splatters turned black.

So, I was in the market for a stainless steel cleaner. I came across Hope's Perfect Sink. $4? Okay!

Here is how my kettle turned out. I'm not exactly sure what the yellowing is in the picture, but I assure you that's what the camera sees and not what I see.

I am blessed with some lovely sunlight in my kitchen during the early afternoon, which inspires me to clean for some reason, so I decided to see what this stuff could do for the sink.

Here's a shot midway through the process. You can see that I started at the upper left.
Now here's the embarrassing photo. This is only one of the nasty paper towels that cleaned up the mess. (Yes, I probably should have used rags, but I had no idea it would require so many paper towels.)


Ah, look at the way the water beads now!


And, the finished product. Drum roll, please!

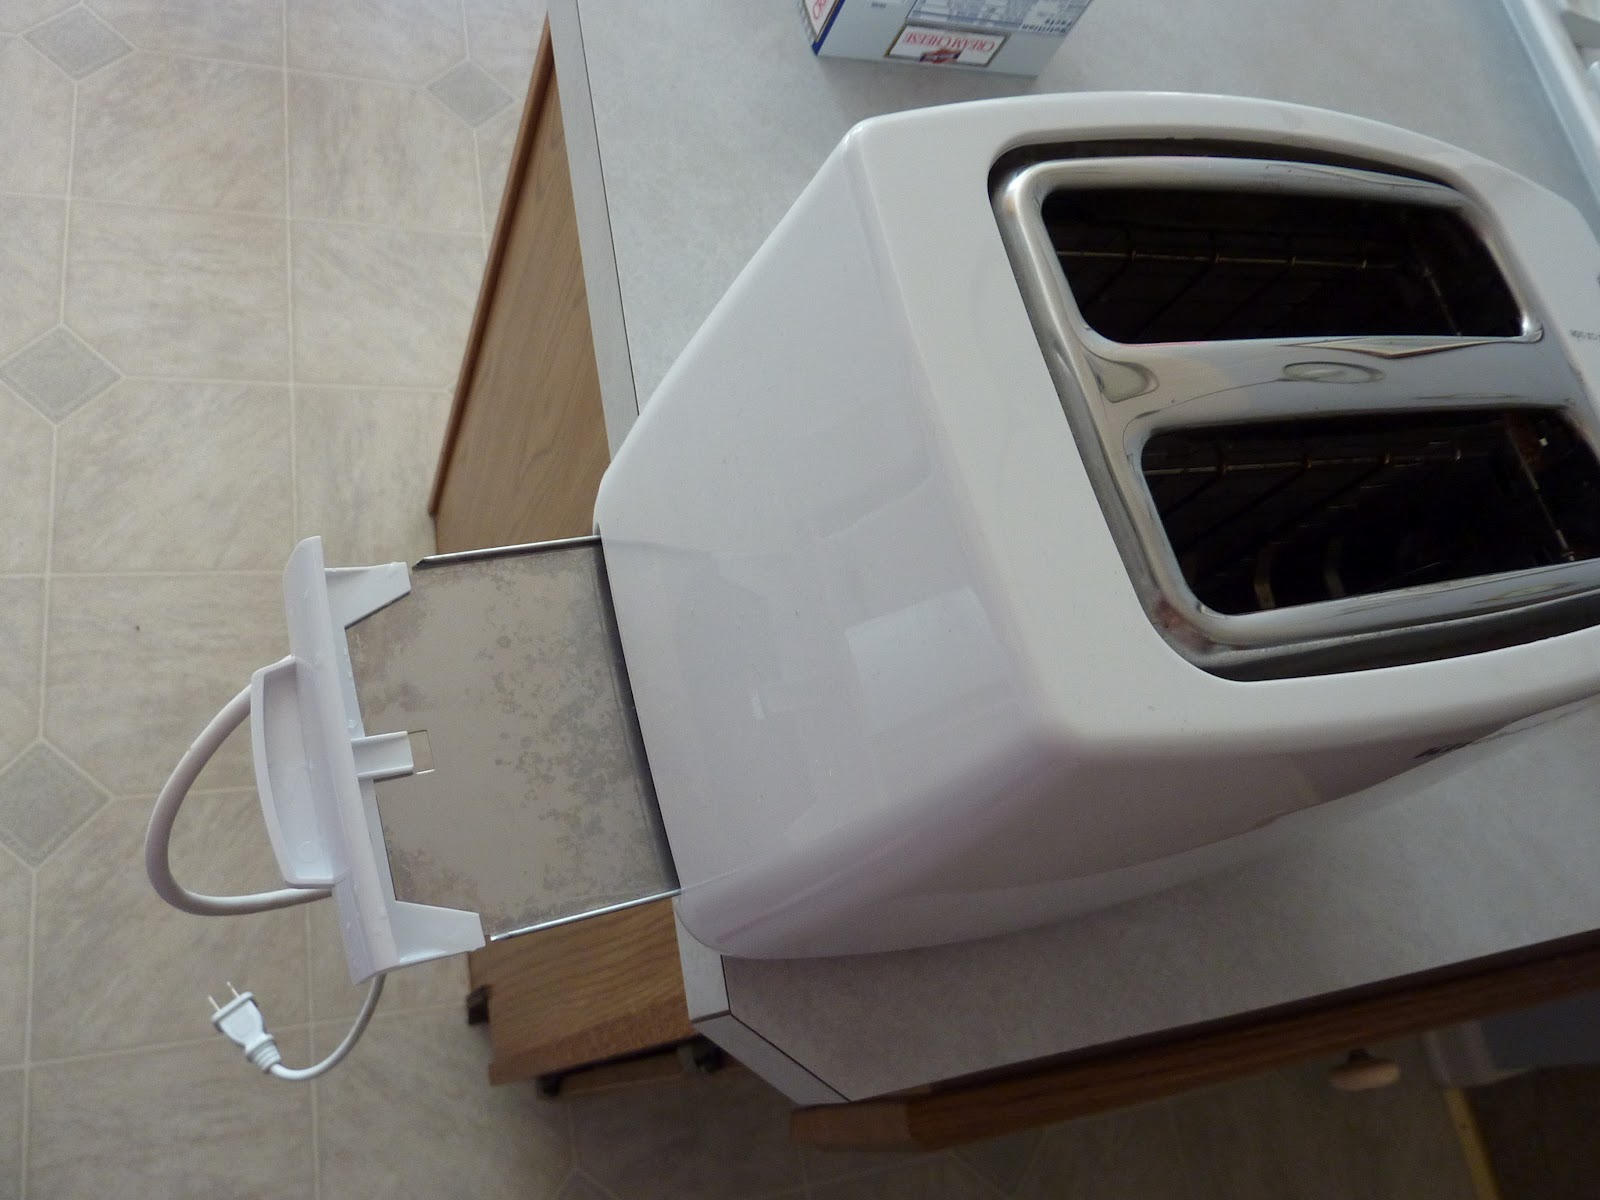
Oh, wait, there's more! I couldn't help myself, so I cleaned the final piece of stainless steel in my kitchen--the center part of my toaster. It was quite dull and yellowed. Now check it out!

No, I didn't clean the tray inside with the polish, but I did make an effort to empty out the crumbs. That probably is a year overdue. (You did know your toaster had a tray in the bottom to catch crumbs, right? If not, you better go empty yours right away!)

Thus ends a long post about chain-reaction shopping and cleaning. From 15 minutes to kill clear through to a clean toaster.

Thursday, May 17, 2012

No More Cooking Spray Buildup!

I want to give a shout-out to the friendly, frugal and helpful community over at TheFrugalGirl.com.

The other week, Kristen posted my question about how to clean cooking spray buildup off my Pyrex bakeware. I received several helpful answers from her and her readers. You can check out the original post here, but here are the suggestions:
  1. Use good old-fashioned elbow grease and an SOS pad.
  2. Make a paste of baking soda, salt and water as a mild abrasive to clean off the residue.
  3. Soak the dish in boiling hot water with a squirt of Dawn dish soap.
Though I didn't use an SOS pad, I did use the hand-sewn nylon "scrubbie" from the talented ladies at the Mennonite retirement home. If that didn't work, I'm not sure another scrubbing pad will.

The hot water and Dawn worked quite well, though I was awfully nervous about burning myself or breaking the glass. There are so many warnings about extreme temperature changes with Pyrex that I don't want to risk it.

So, I choose option #2. Now, if only I knew about that paper cut on my finger and had put on a pair of gloves BEFORE the searing pain. What they say about rubbing salt in a wound is no joke!

Hopefully this post is helpful if you're an over-zealous cooking spray user like myself. If not, I'd love to hear what you grease your pans with, and why.

Thursday, May 10, 2012

Take That, Nasty Laundry Stains!

I am so excited to share some cheap and easy stain-busting tips with you today!

But first, a question: If you are over the age of 25, do you still own any clothing that you wore in high school? I'd love to hear what you've saved!

I am officially 10 years out of college (ack!), and I have discovered a handful of items that have stuck around through years of thrift store cast-off sessions. I owe this in large part, I believe, to our front-loading washer. I'm amazed at how gently it treats my clothing.

Now I'm finding that other issues arise besides clothing that wears out. I (ahem) have outgrown a few things, others go out of style, and many others develop stains. I am not a graceful athlete and apparently, not a graceful eater, either.

And just why is it that stains never seem to show up until after they've been stored for awhile?

Well, without further ado, here are some stain remedies that have successfully rescued my family's clothing*:

Baby Spit-Up Stains
Soak the afflicted items overnight in a mixture of oxi-clean and water. If there are kids or pets around, be sure you soak in a container with a tight-fitting lid. Wash as usual, then hang in the sun to dry.

Berry Smush Stains
Boil a kettle of water. Turn the article of clothing inside out and pour the hot water over the stain from back to front. Launder as usual. Yes, I know this sounds counter-intuitive, but it does work.

Grease and Food-Based Stains
In this case, the sooner you treat, the better. Don't even bother to pre-treat if you are dealing with kids' clothing. Just take the item to the kitchen sink and hand wash with liquid dish soap. This got ketchup out of my son's ivory shirt sleeve just the other night. Wash as usual. The ingredients in the soap that get rid of grease on your pans also get rid of grease on your clothes. (Which is a good thing when you stand too close frying bacon.)

Sweaty Armpit Stains
Eww, gross, right? How many men's undershirts get tossed because of this? Well, this is actually a problem because of deodorant buildup more than sweat. I just tried this on a white linen shirt that's been in storage (last summer I was wearing maternity clothing). It was not only yellowed but had sparkly grit in the seam.

Lay the shirt on a white towel or countertop that will not stain or bleach. I used my cultured marble bathroom sink. Combine equal parts baking soda, water and hydrogen peroxide. Brush into the stain with a clean toothbrush and let sit for 15 minutes. Consider brushing from the inside and outside of the shirt, and getting into all the creases of the seams. Wash as usual and tumble dry or hang in the sun for additional bleaching.


Well, there you have it. I hope you can save some of your favorite items with these inexpensive and green stain-treaters! And what you can't salvage, maybe you can make into rags.

*These were all attempted on regular wash-and-wear clothing. I make no claims about special fabrics like silk and suede. If you have kids, are you really wearing that anyway?